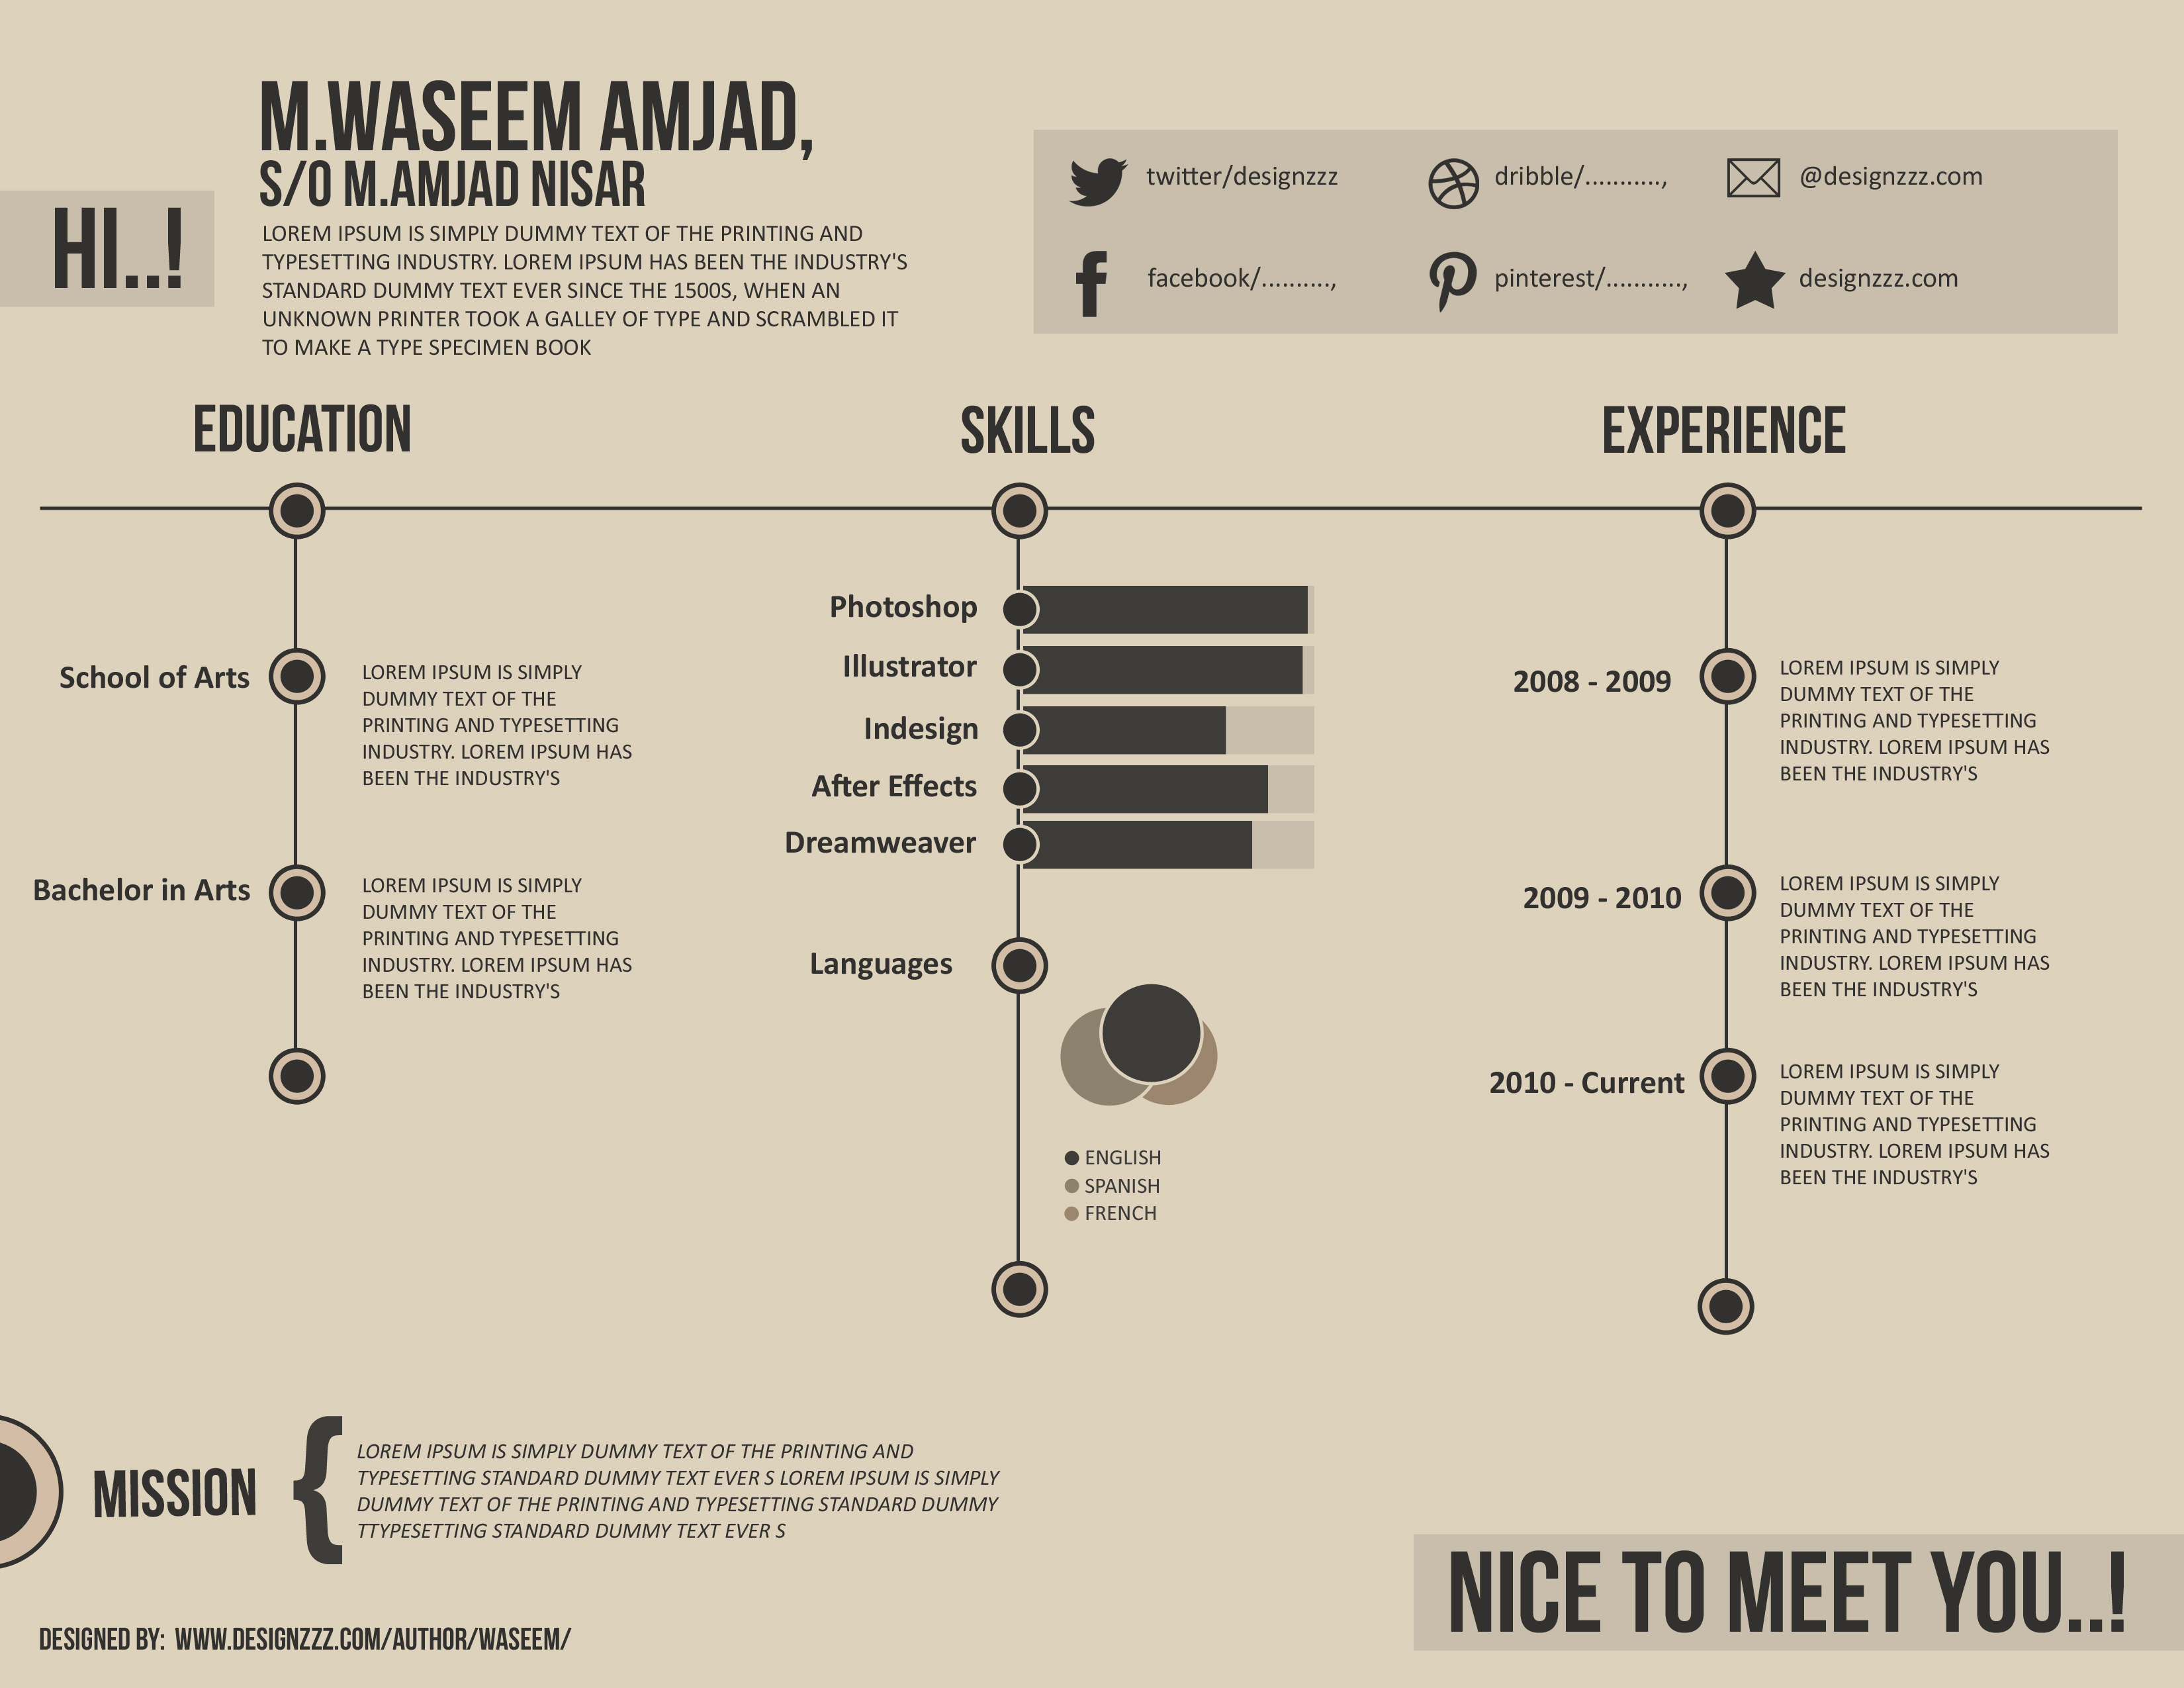
Basic Info
I’m using A4 Landscape size for making this CV. I suggest you choose the same size, but of course, you’re a creative mind, you’re allowed to make variations.
First of all, fill the background with this color.
Now select the Rectangle Tool and make a rectangle on the left side of the canvas.

I added 3 type elements. The first on was “Hi!” in the rectangle we drew in the previous step, then I wrote my name, father’s name in front of it. This time we didn’t create a box in the background. I used bebas nuene but you can choose any font you like.
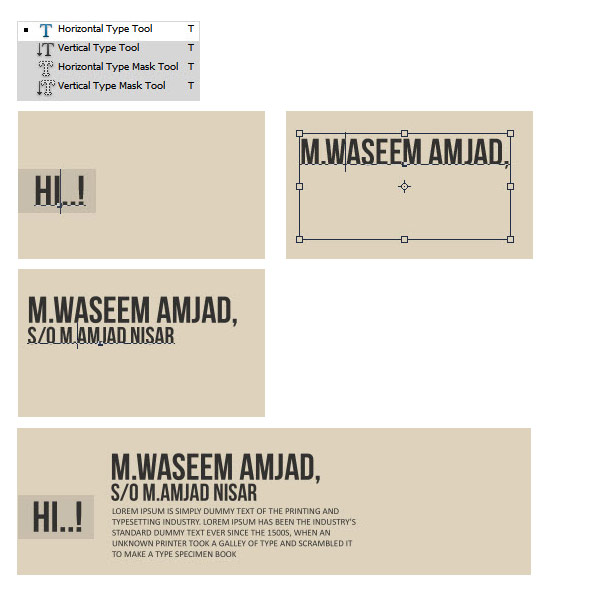
Now I selected Rectangle Tool once again and created a box. This will highlight the data on it. I plan to put my online contact here; you know, social media profiles, email ID etc.
I used free icons for stylizing this data.
I used free icons for stylizing this data.

Basic work complete. Now I’m drawing a line to separate this info with the lower content. I’m using Path tool and drawing a line 5px strong using the color shown in the screenshot below.

Design Elements
Now I’m creating a bullet design which we’ll be using all over this resume. This design is fairly simple but very effective.
This is how you can design these bullets/dots. I’m using two colors, you can see their reference code from the screenshot.
1. I draw a circle.
2. I gave it 7px strong stroke (outline).
3. I made another circle using the color of the outline.
4. I placed the other smaller dot on top of the first one.
1. I draw a circle.
2. I gave it 7px strong stroke (outline).
3. I made another circle using the color of the outline.
4. I placed the other smaller dot on top of the first one.

Here’s how you should place this dot. This step could take a bit.

Adding Content
Time to add data. I’m starting with “Education“. Select Type tool and type EDUCATION.

Remember the bullet we just created, make a copy of that along the line. You can just select the bullet’s layers and hit CTRL + J to duplicate them.
After copying the bullet, add the subheading. This is supposed to be your first art degree.

Here’s how the final design should/could look. The description on the right side could contain the info about your grades, final project etc.

Education tab is complete, now let’s make a tab SKILLS.

Let’s create a graph here. You can use many softwares to create graphs, you can also use Adobe Illustrator to create graphs and then import them into Photoshop… but I’m making these graphs right here in Photoshop.
I created another bullet, this time I made the circle with dark color and gave it a light color stroke.
In step two, I drew two boxes, one in dark color and one in light color. This will be our graph. Check out the screenshot for more detail.
Showing Skills

And after 10-20 minutes, this is what you’ll end up with.

Here I’m going to make another type of graph. I can’t recall it’s technical term, last time my 10th grade teacher told me the technical term. It’s basically intersecting circles. The colors in these circles reflect your expertise in that field. The darker the color, the more you’re expert!
I created this graph for languages, you can use it for any other purpose.
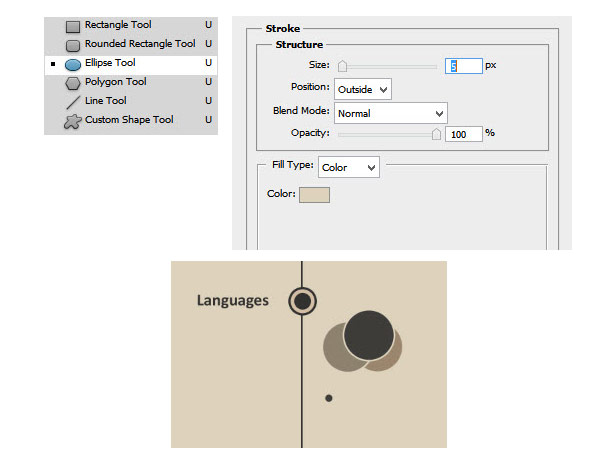
Did you notice that in the screenshot above there was a tiny dot below the circles. That was a bullet.

Done!
You’d notice that I gave separate colors to the bullets to for reference.
You’d notice that I gave separate colors to the bullets to for reference.

Time to note down your professional experience.
For that, I copied the Education tab style again. This will create a symmetry. Same design on the left, on the right and graphs in the center.
For that, I copied the Education tab style again. This will create a symmetry. Same design on the left, on the right and graphs in the center.

Finishing Note
People usually love to add a Mission Statement in their resumes. So here’s the place to add it.
We’ll start by adding a bullet, but to add some style, I’m only using half of the bullet we used earlier. And using this bullet in a very large size.
We’ll start by adding a bullet, but to add some style, I’m only using half of the bullet we used earlier. And using this bullet in a very large size.

I typed the heading, which is MISSION. Then added a Curly Brace bracket. Now write down your mission statement here. You can use a cursive font to add more personal touch. Don’t forget to make it italics.

Remember we started by writing a “Hi!” in the beginning. In the very same way, we’ll add a “Nice To Meet You!” in the end. So let’s draw the same kind of rectangle in the background.

Add text.

Final Result
Click the image to enlarge


0 komentar:
Posting Komentar